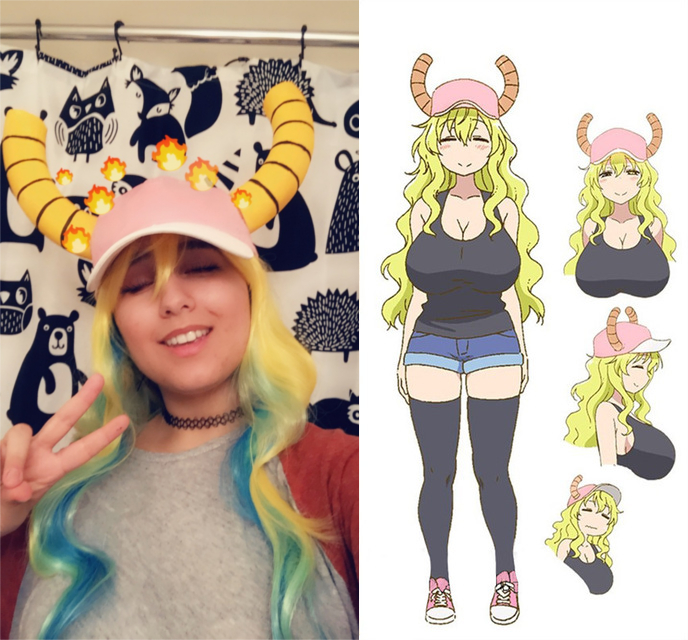
I’m pretty proud of how my hat and horns turned out, especially considering I got them done a few days before AnimeNEXT. The horns were incredibly lightweight (which was a bit of a problem when it got windy) and comfortable to wear. I decided to make them separately in case I wanted to wear the horns without the hat. Below I’ll show you step-by-step how I made the hat and horns. A few descriptions have been changed according to what I’d do differently to improve the final product. These will be marked with footnotes.
The Hat
Materials:
• Washcloth
• Pink Baseball Cap
• Masking tape
• Aluminum foil
• Paintbrush, preferably flat
• White fabric paint
This one is the most straightforward, so I don’t have any pictures for this one. Layout some aluminum foil on your painting surface. Using a damp washcloth, wipe down the brim of the hat. Let dry. Place the masking tape on the front of the hat where it touches the brim. This is to ensure the paint only gets on the brim. Paint the top half of the brim, then set down on the foil to dry. Then paint the underside of the brim and let dry. Repeat for another coat to ensure maximum coverage (don’t want any pink to show through!) Let dry overnight.
The Horns
Materials:
• Aluminum foil/Newspaper
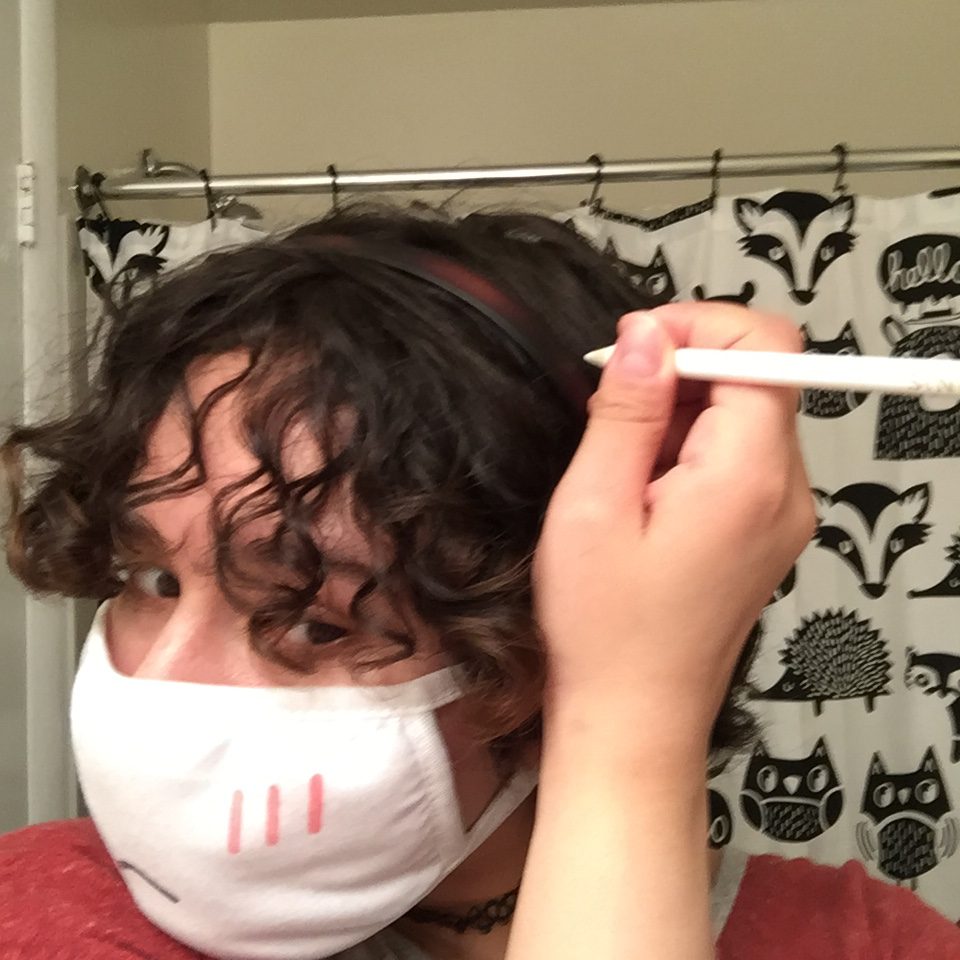
• Painter mask or mouth cover
• Paintbrush
• Soft tape measure
• Sandpaper
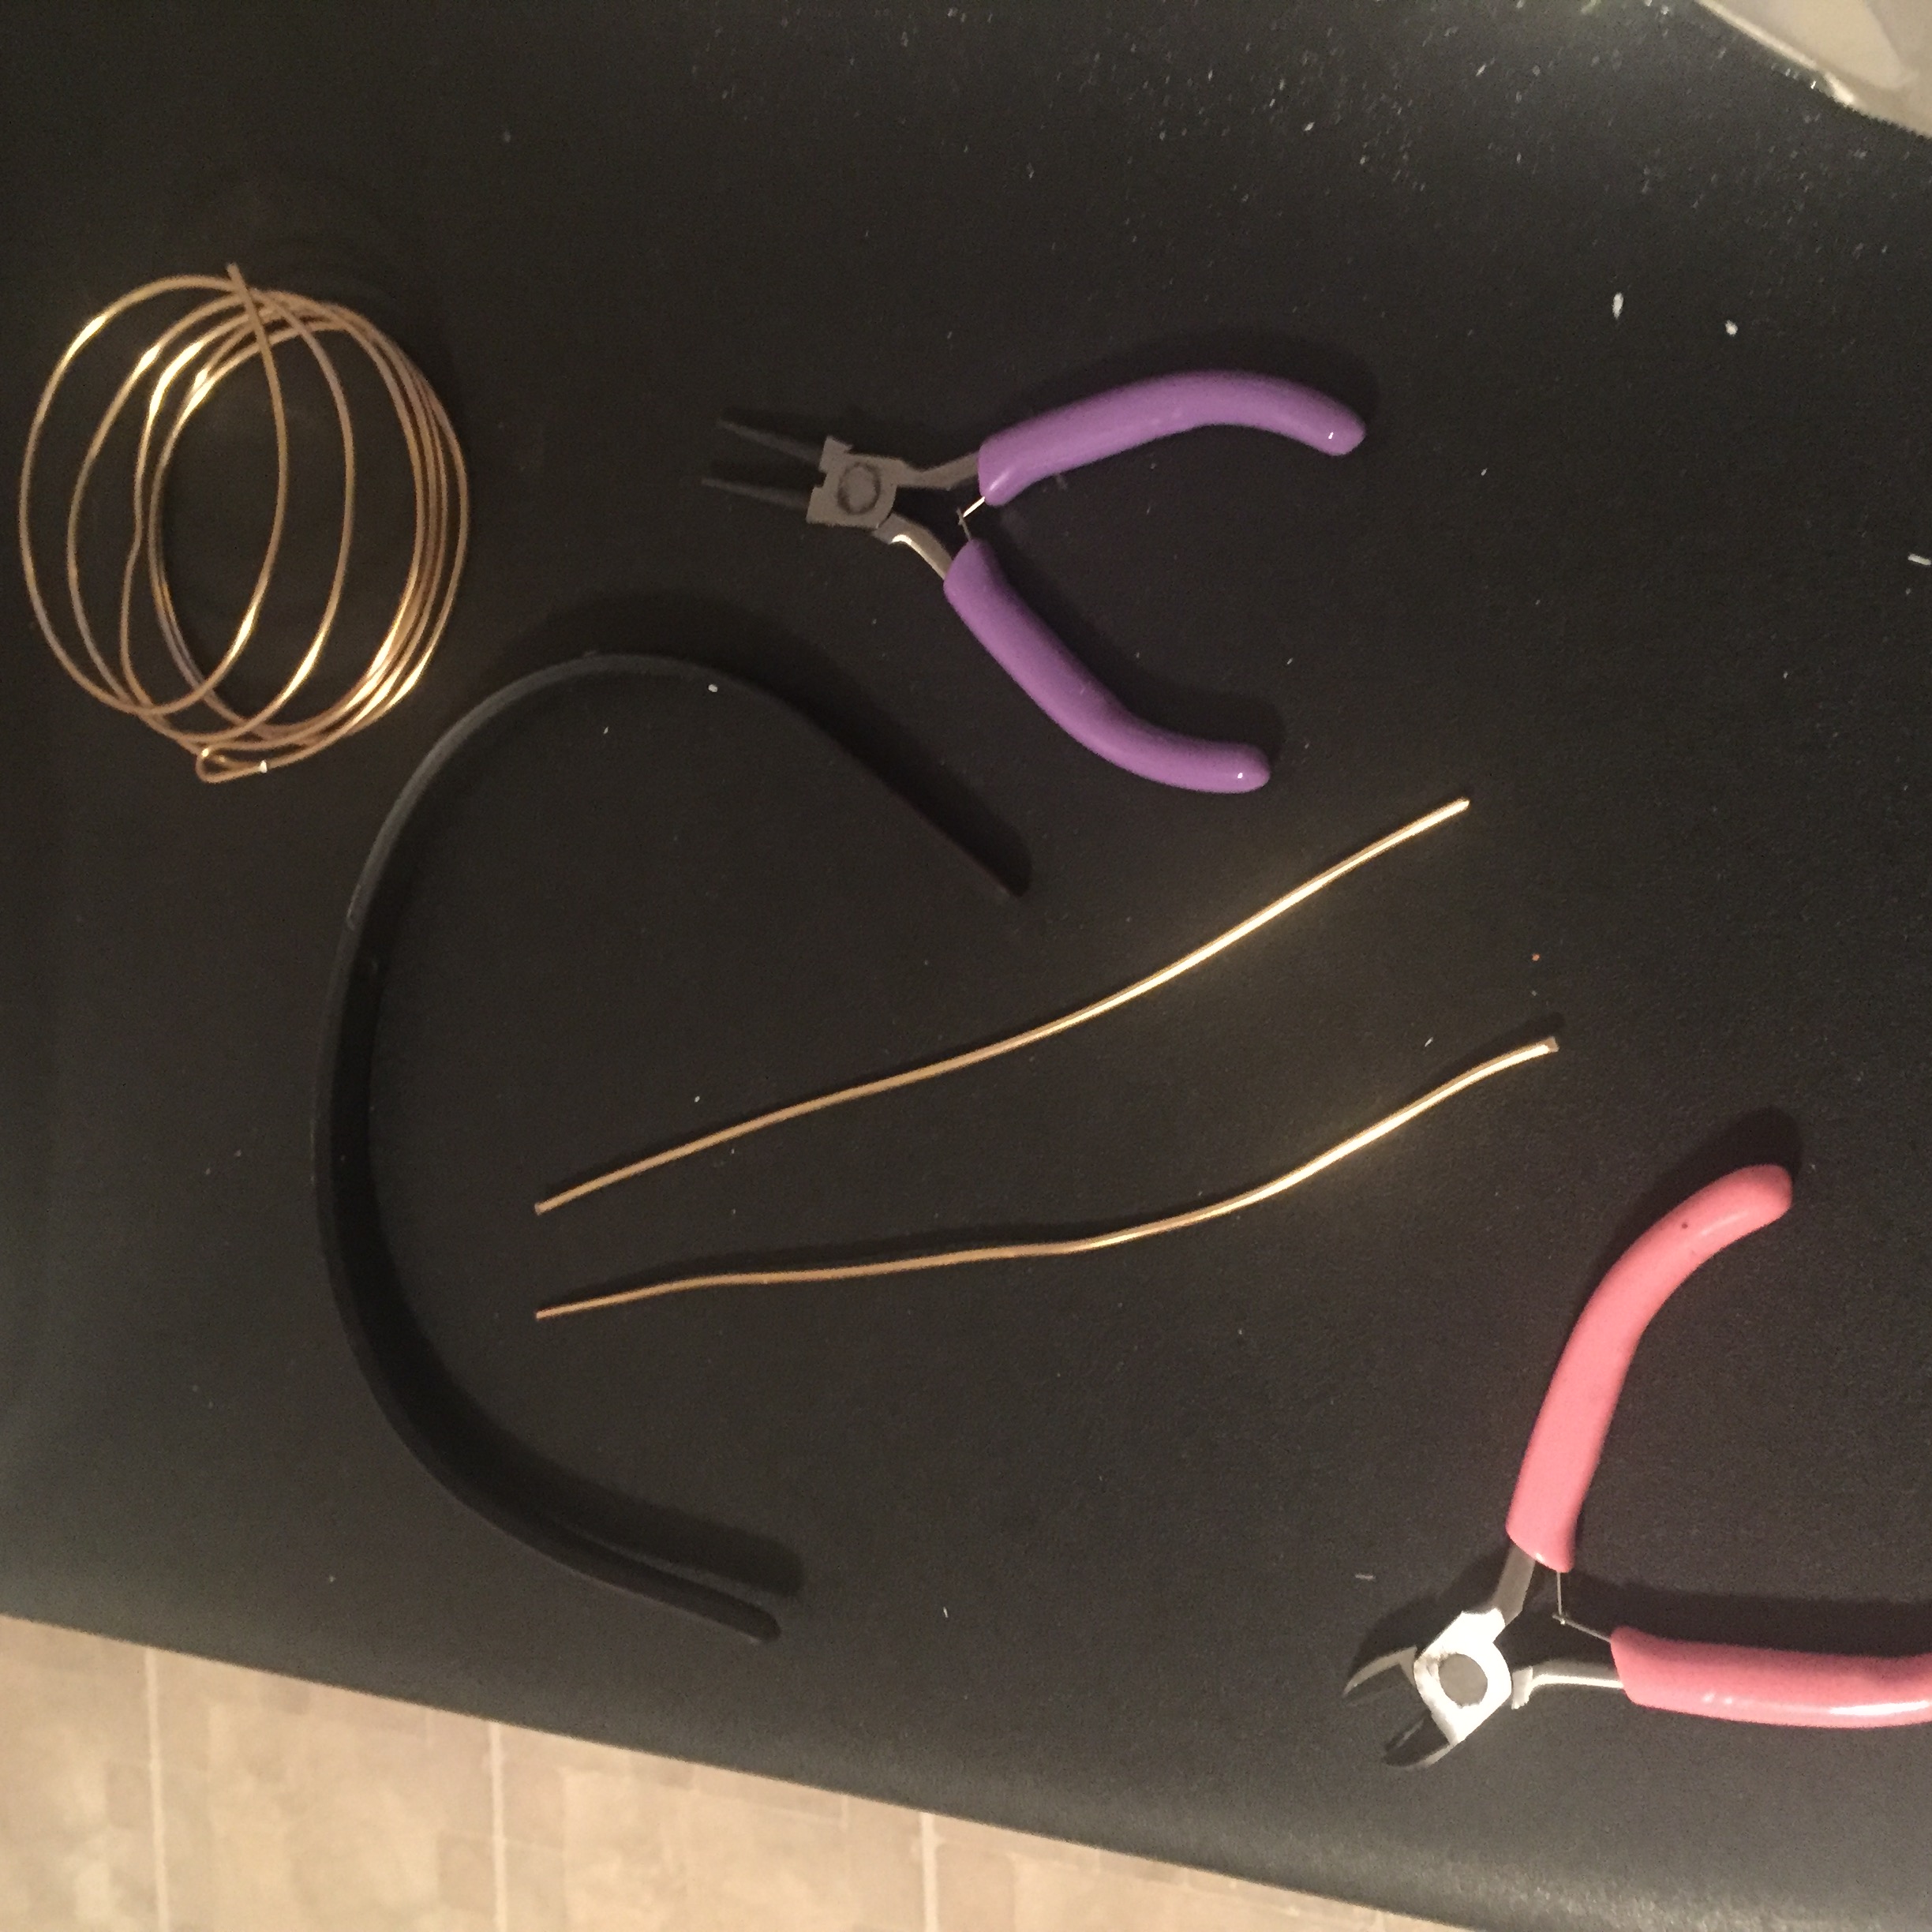
• Needlenose pliers
• Small Wirecutters
• White pencil or chalk
• Embroidery shears or any kind of small fabric scissors
• Yellow acrylic paint
• Black acrylic marker
• Pocket knife
• Styrofoam floral wreath
• Jewelry wire
• Plastic Headband
So yes, I went with Styrofoam since it’s easy to work with and it’s incredibly lightweight. On top of that, the wreath had the perfect tube shape that I needed and the polygonal texture of it created a cool scaly effect that I ended up loving. I had tried making clay horns, but I wasn’t getting the shape I wanted and they ended up being heavier than expected. With that said, let’s get started!
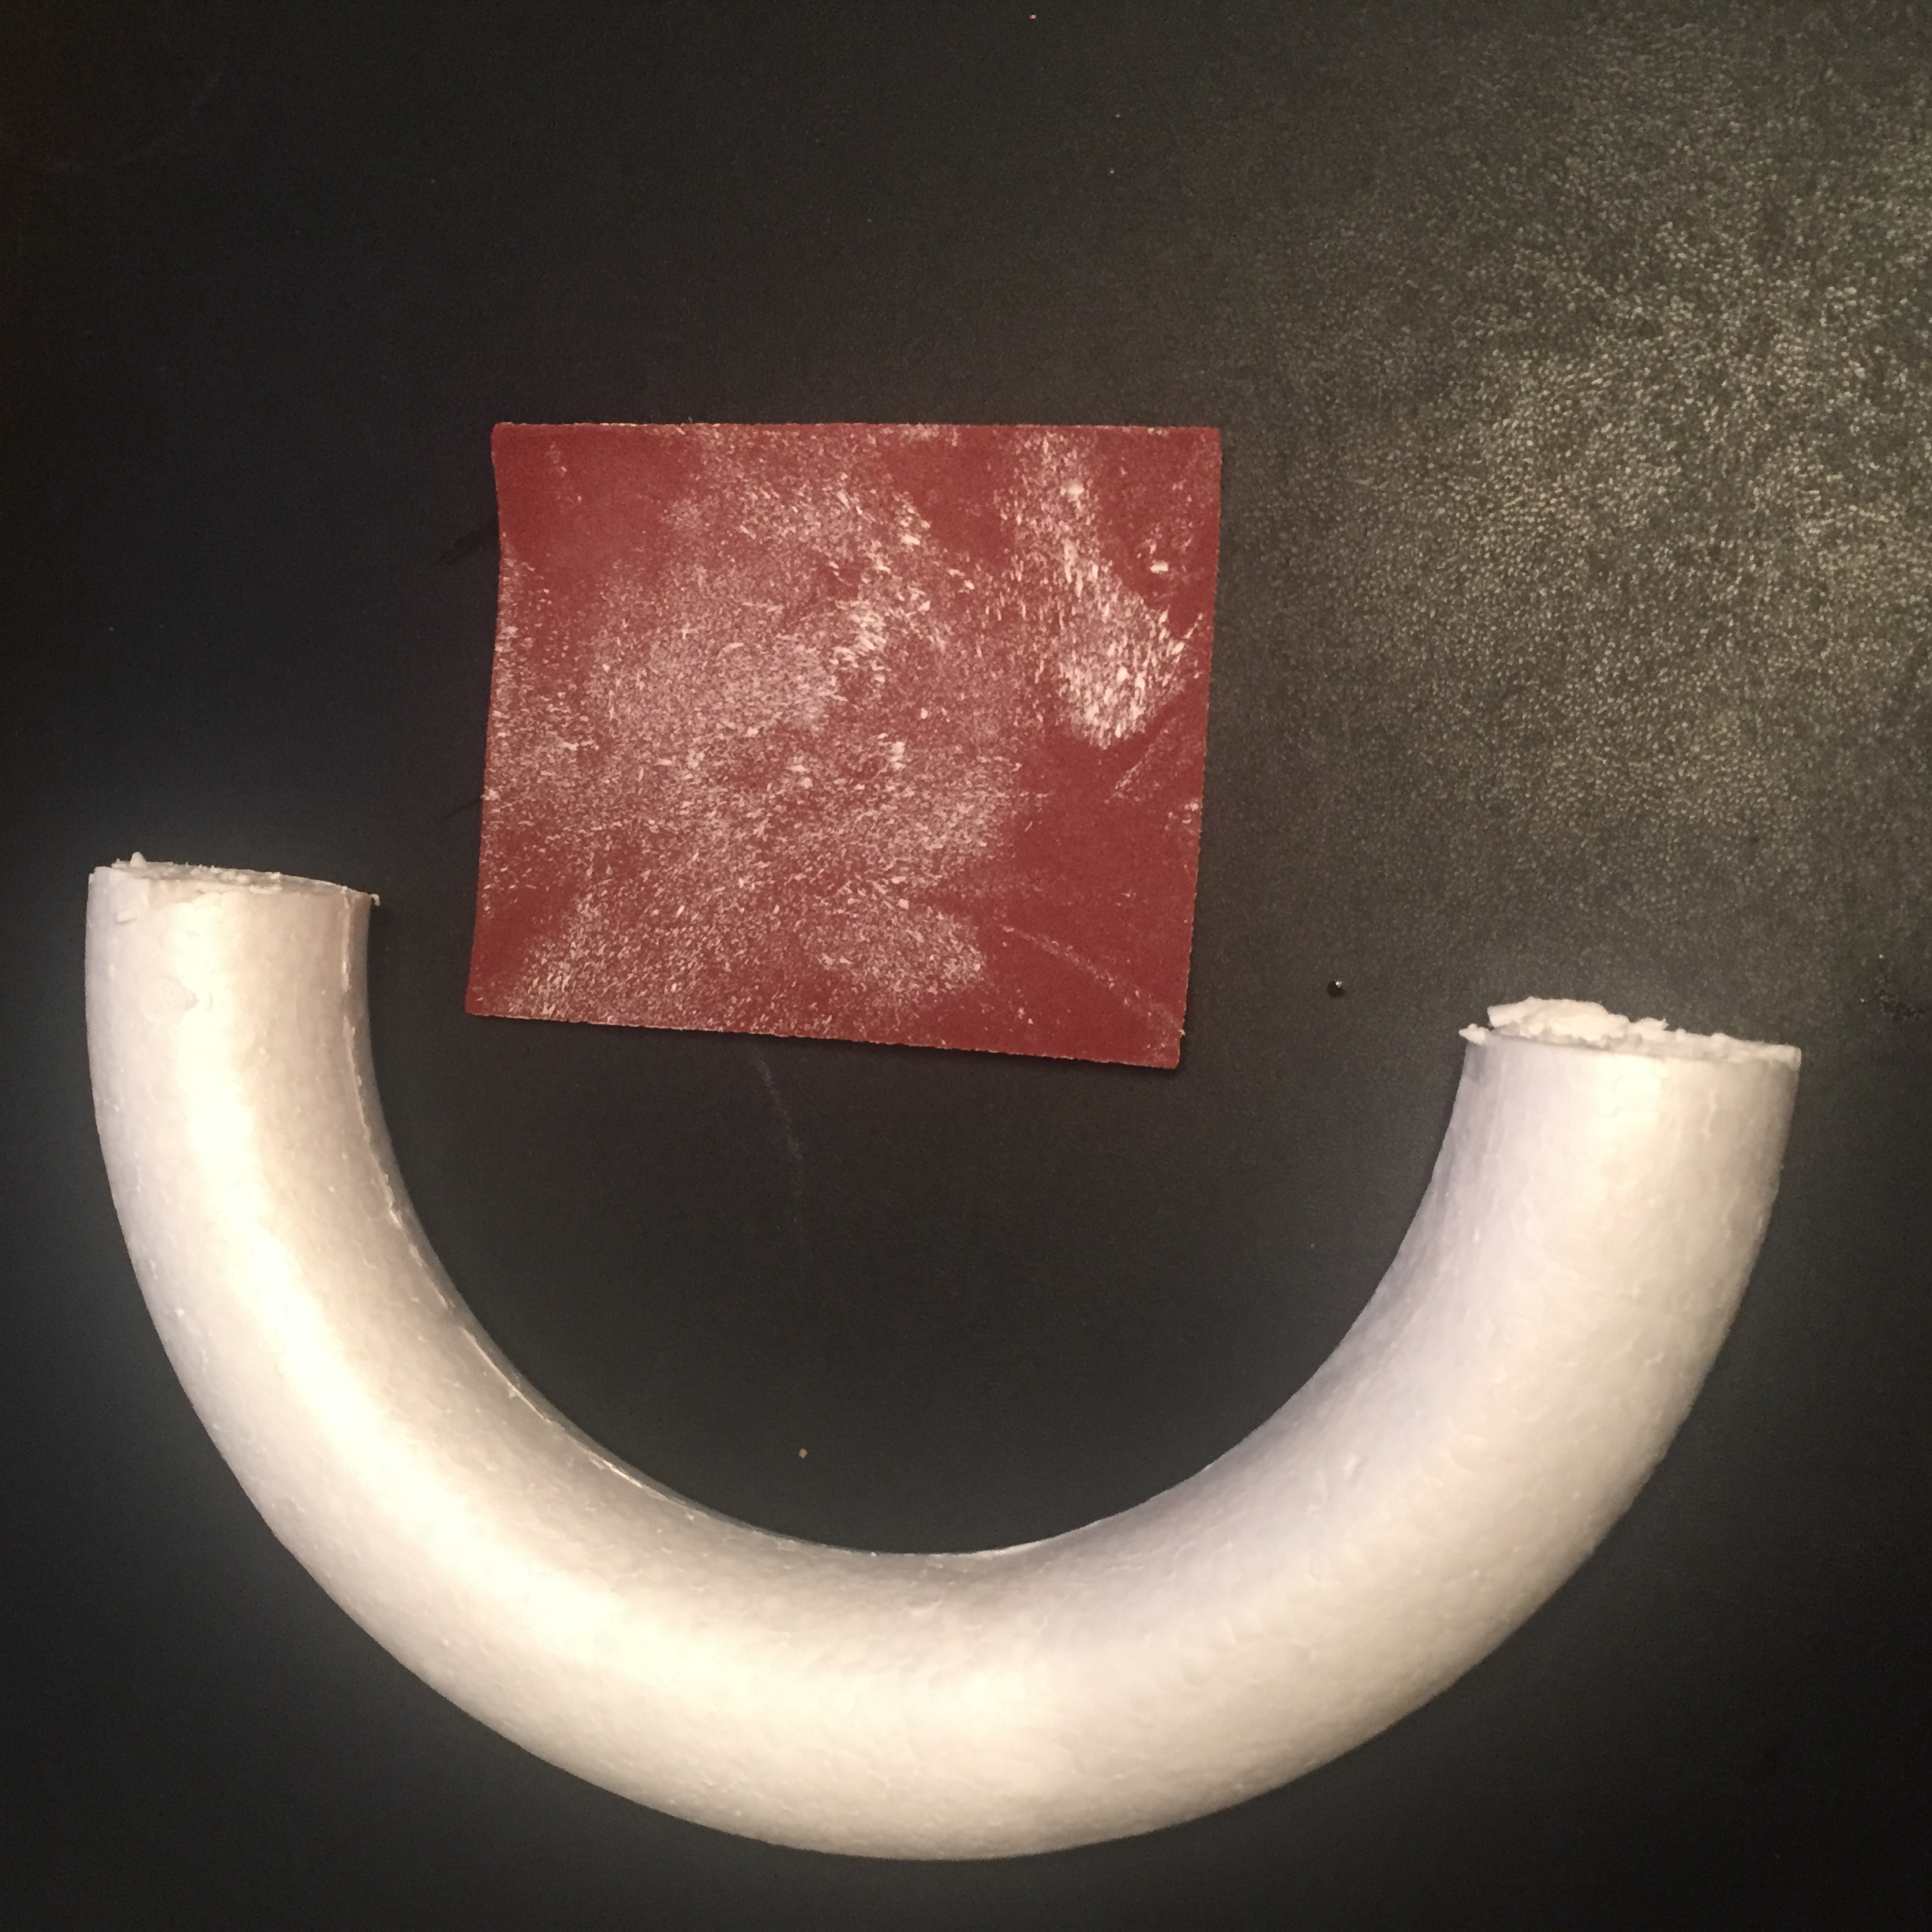
First, lay out your foil or newspaper to cover your work area. Using your pocket knife, slowly and carefully cut the wreath in half. Set one piece aside as backup and cut the other piece in half. You might have some unevenness where some beads of foam popped out. Put on your face mask (we don’t want to inhale any Styrofoam dust!) and use the sandpaper to smooth out any unevenness. Be Careful: sandpaper works really well on Styrofoam! Don’t whittle down your horns too fast!
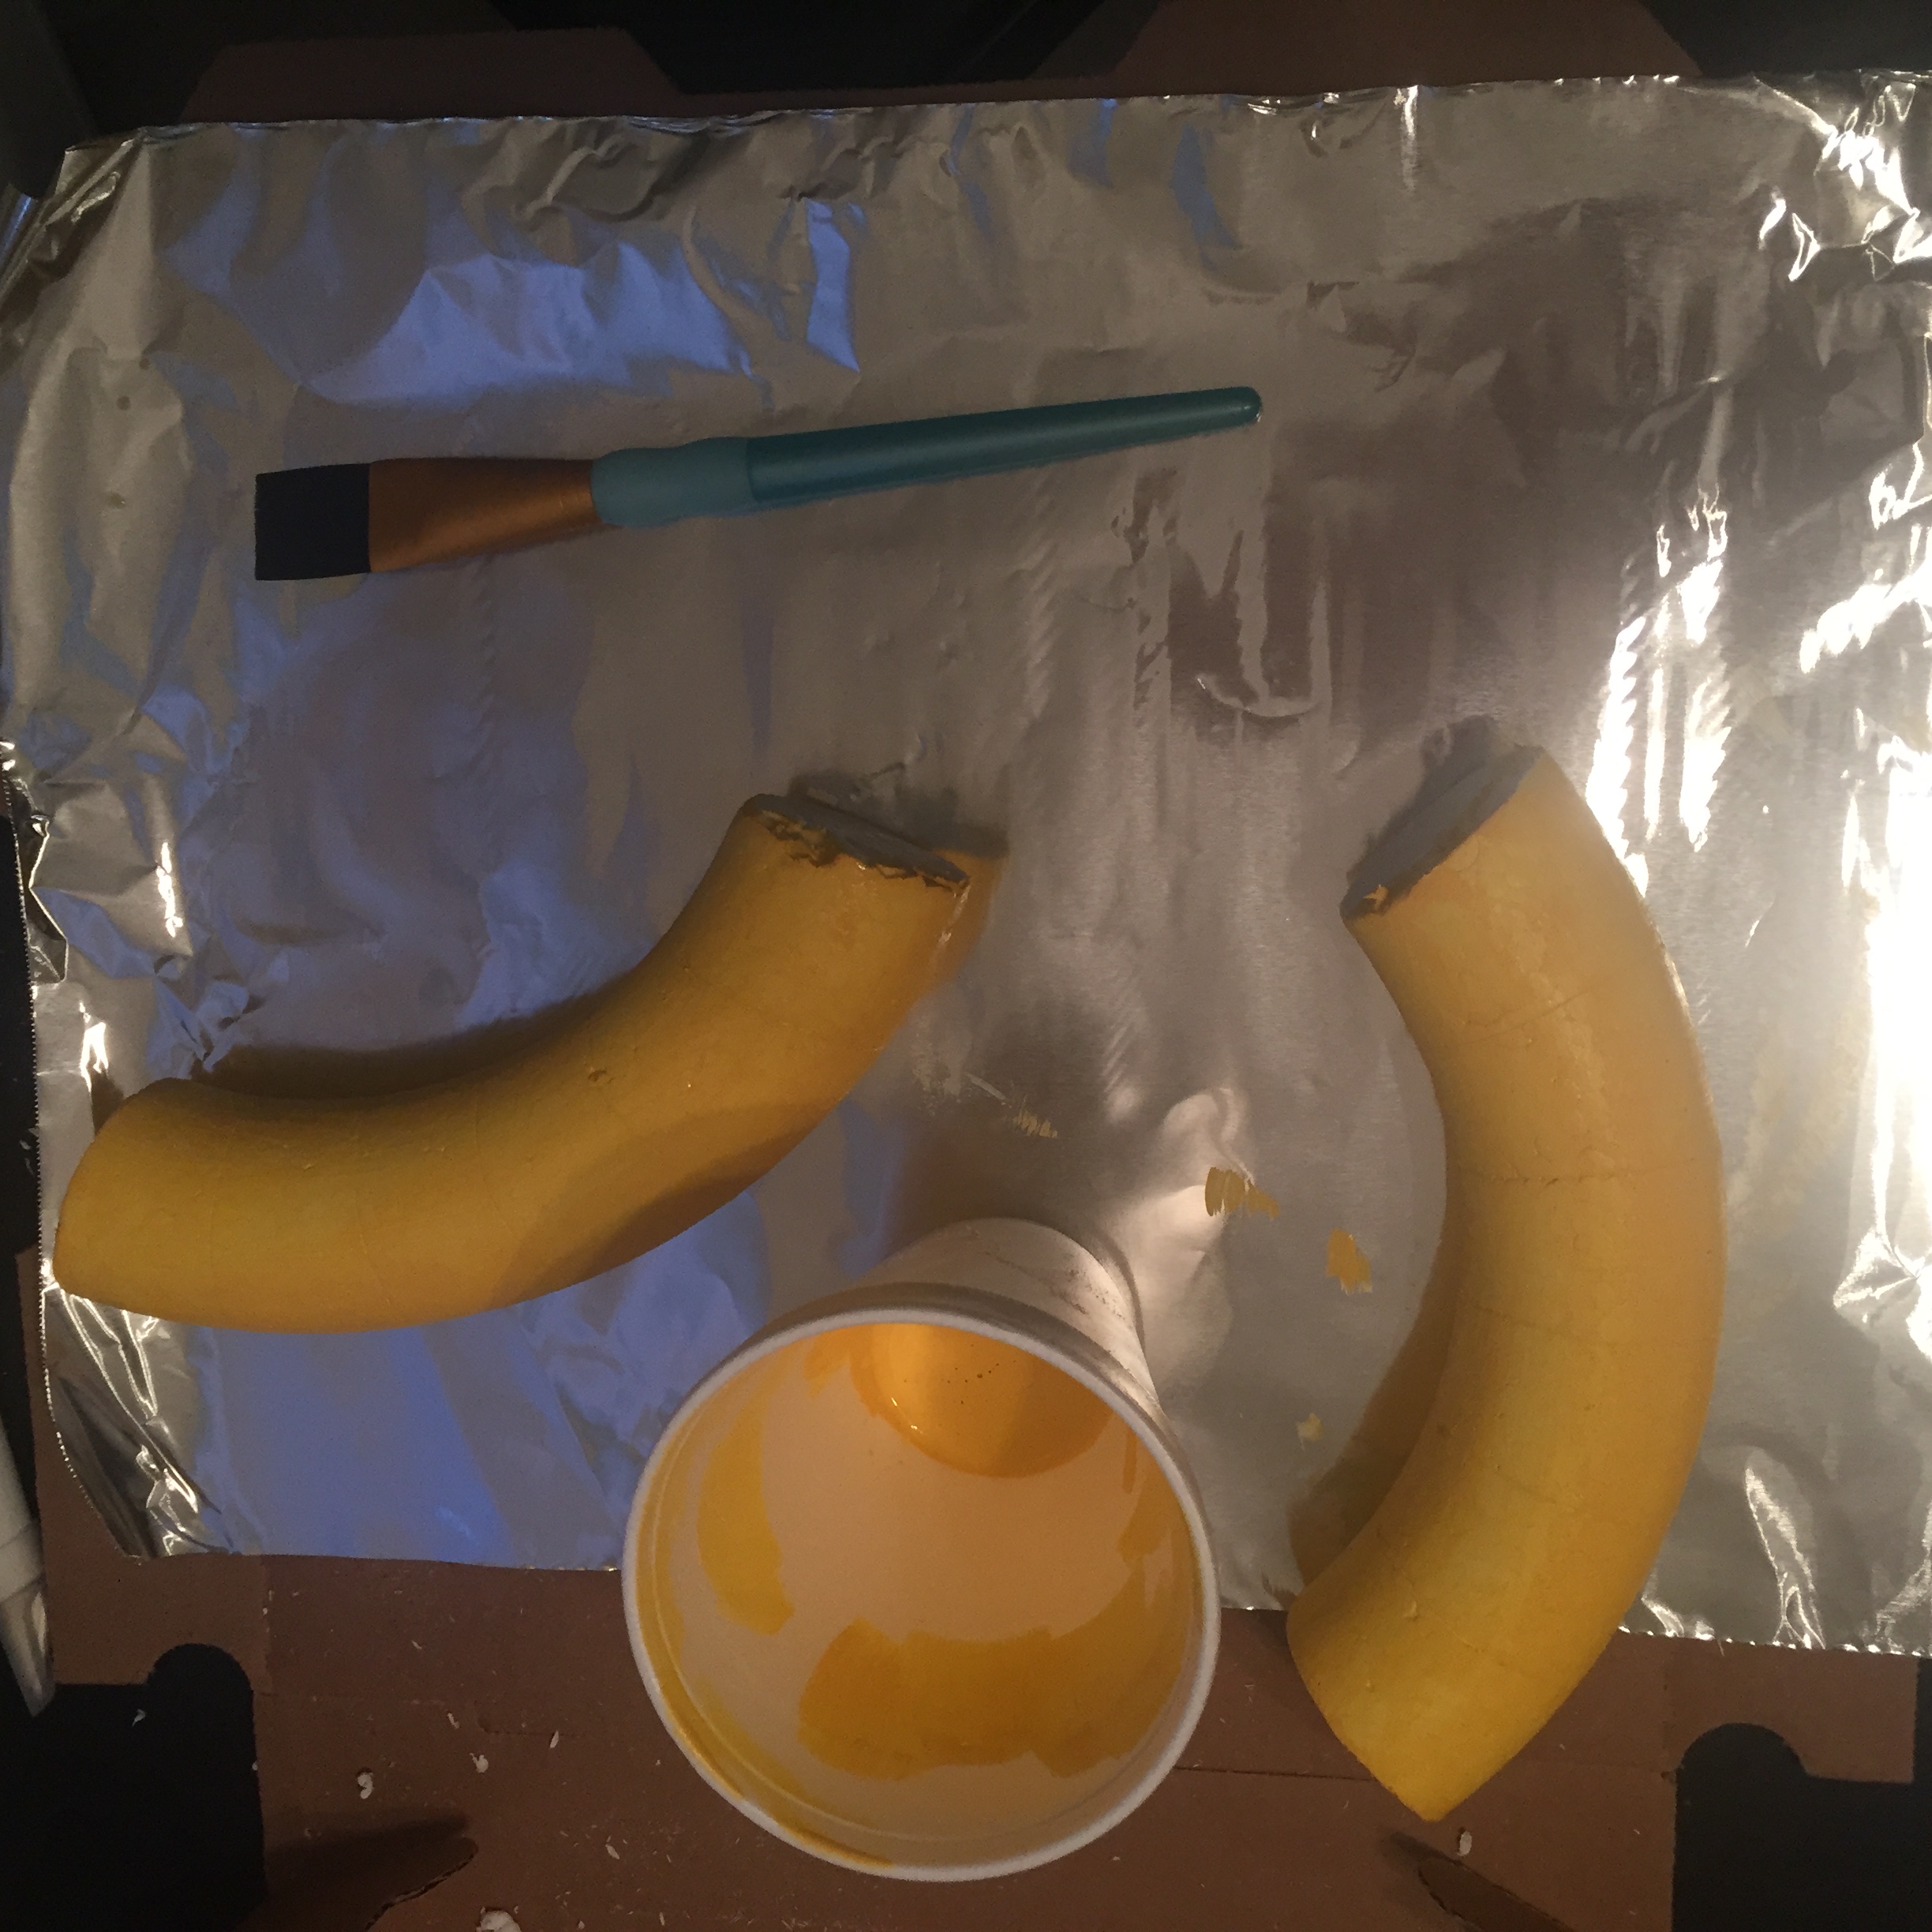
Once you have your horns cut and shaped, it’s time to paint! Cover the horn in a layer of acrylic paint. I decided to use some extra jewelry wire to hold up the horn as I painted, leaving one end unpainted so I would know which side would attach to the headband. I applied 2 layers, letting the texture of the Styrofoam beads show through. You can apply more layers to be more opaque if you don’t want this texture.
After painting, it’s time to put some details on the horns. In production shots of Lucoa, it appears her horns have 6 segments. So, using the tape measure, measure the outer length and inner length of the horns and divide by 6 to decide how big each of these segments should be.

For example: my horns were 9” on the outside length, so I made marks with a pencil at every 1.5” on the outside length. The inside length was 6”, so I made marks at every 1” on the inside length. I carefully connected these two marks to create rings for each segment.
Now that you have your segments marked, trace over them with the black acrylic marker or black acrylic paint with a detailing brush. I tried freehanding it with a flat brush, which is why my marks look so uneven.
While your horns dry, it’s time to work on the headband and wire that will attach your horns to your hat or wig. Grab your pencil or chalk and put on your headband. Mark where you want the center of your horns positions. Take off the headband and mark the underside of the headband. Place the headband inside of your hat and mark the hat where it lines up with the marks on your headband. Set the headband aside and finish the mark inside the hat, emphasizing the center of the line. Using the embroidery scissors, make a small hole in the center of your mark. This is where the wire will come out to hold your horns.
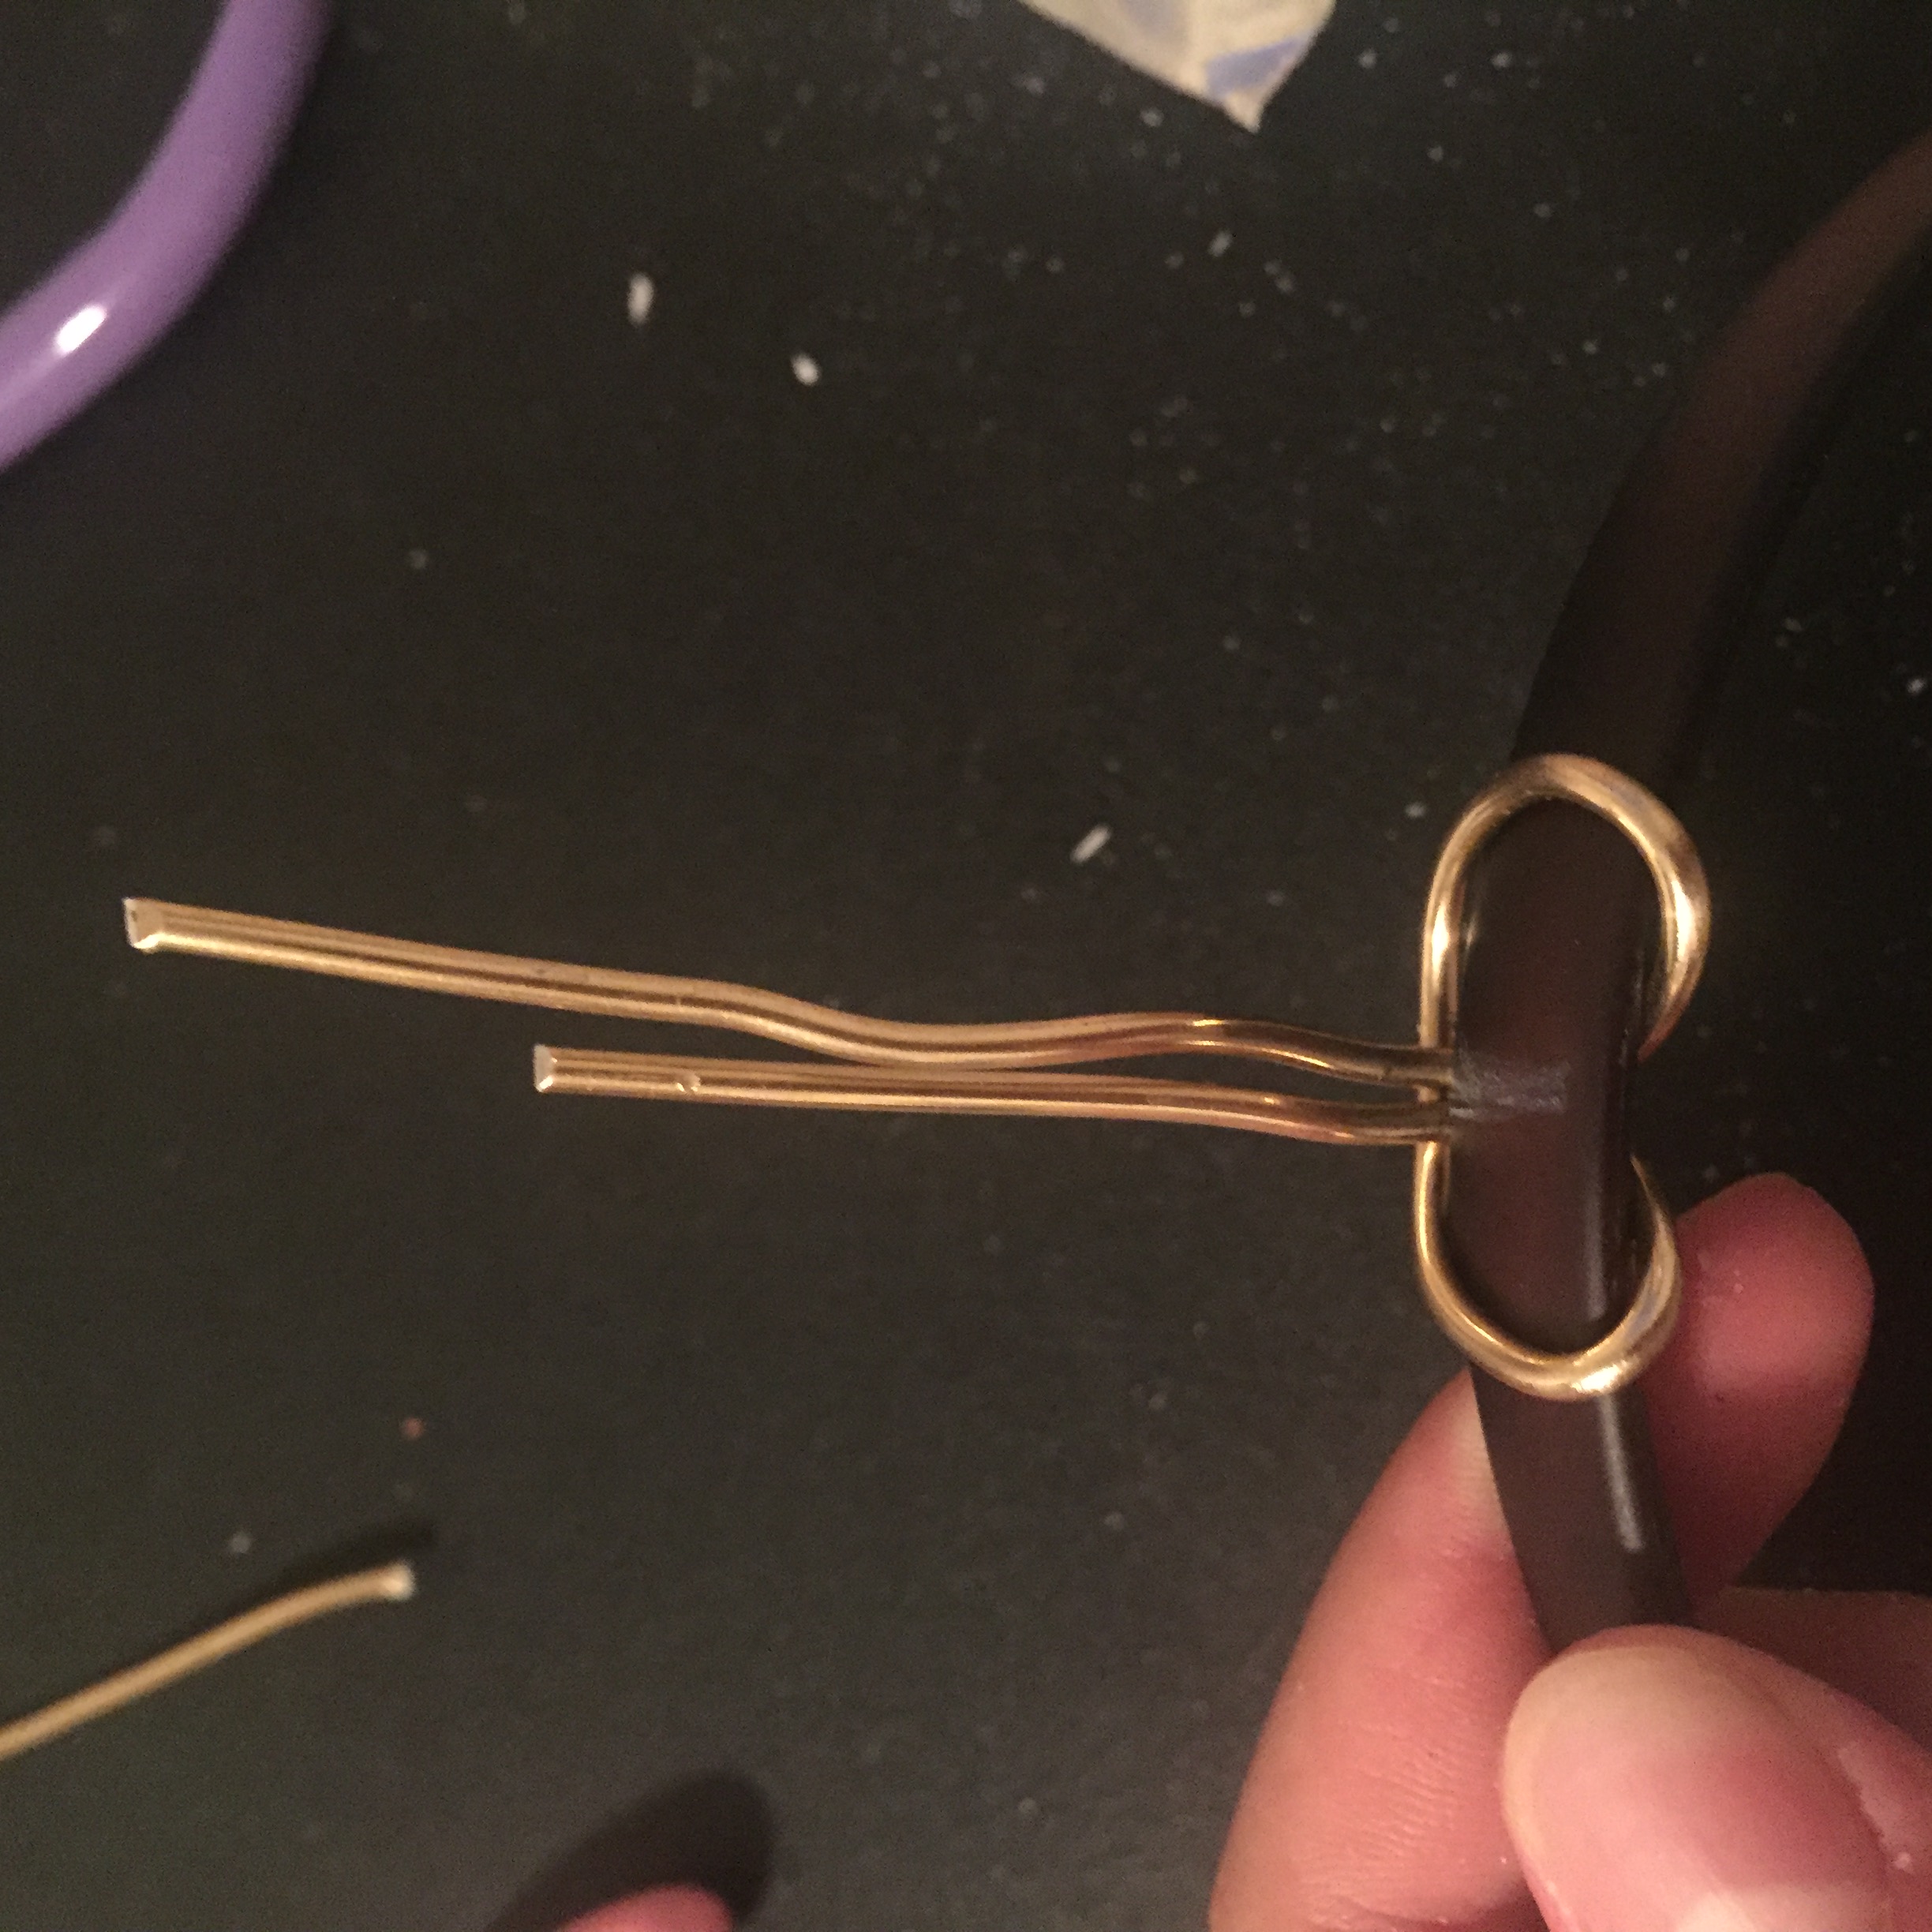
To attach the horns to your headband, cut two 9” pieces of wire using your wire cutters. Use the pliers to blunt the ends. Bend each wire into a U-shape and then wrap them around the headband where you made the marks. I decided to use a cow hitch knot, but you can also simply wrap the wire around the headband in a spiral. I let these slide off the headband since my super glue didn’t work, but if you’d like to secure them I recommend hot glue.
Now it’s time to put it all together! Carefully poke the ends of the wire through the holes in the hat. I prefer to keep the wires wavy like a flamberge since I found it gave me a more secure hold. Put the hat and headband on to make sure it fits comfortably. Then, stick the end of the horns onto the wires and you’re done!


